Generally, Android users have no root access to Android device by default. Thus it requires you to use root tool to root your Android phone so that you can obtain the highest executive authority of your Android OS and become the super user. Now let’s have a look at how to root your Android phone.
Root Genius is a root tool which supports rooting all kinds of brands and versions of Android phone. See concrete steps below:
Step 1: Download Root Genius.
Step 2: Connect your Android phone to the computer via USB cable.
Step 3: Enable USB debugging on your Android phone.
Typically, go to Settings -> Developer options and check USB debugging. See how to enable USB debugging on different versions of Android phone.
Step 4: Install USB driver on your Android phone.
Normally, when USB drive is downloaded on your computer, your Android phone will automatically install the USB drive. Refer to Download and Install USB drive for different brands of Android phone.
Step 5: Run RootGenius_en.exe file to root your Android phone.
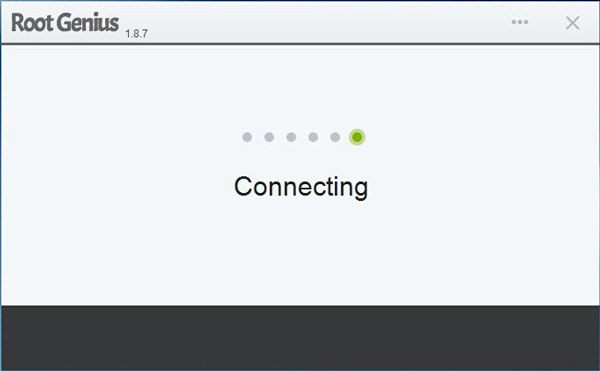
1. Double click on the RootGenius_en.exe to run Root Genius. It will spend a few seconds to automatically connect your Android device.
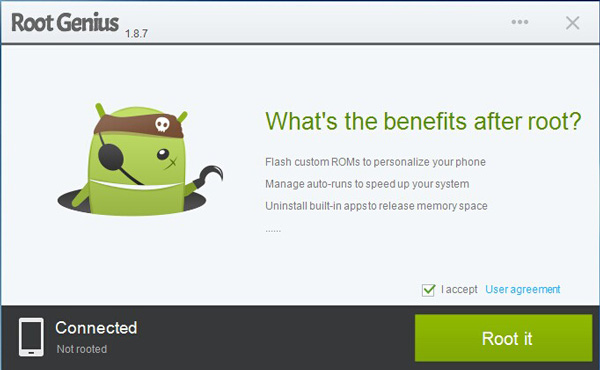
2. When your Android phone is connected, click on Root it.
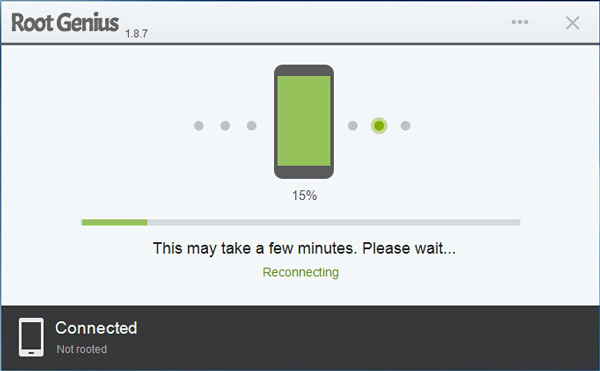
3. Just patiently wait for a short moment when the root process is on and keep your phone connected to the computer. You will see your phone automatically reboots in the root process.
4. After a while, your Android phone should be rooted successfully.
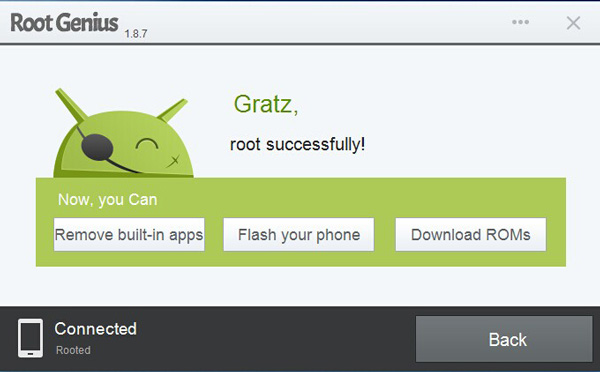
Then you will find a Kinguser icon on your phone desktop, which also proves you have successfully rooted your Android phone.
In addition to Root Genius, many Android phones can get root access by Superonclick. Before you root your phone, you also need to:
Then start to root your Android phone:
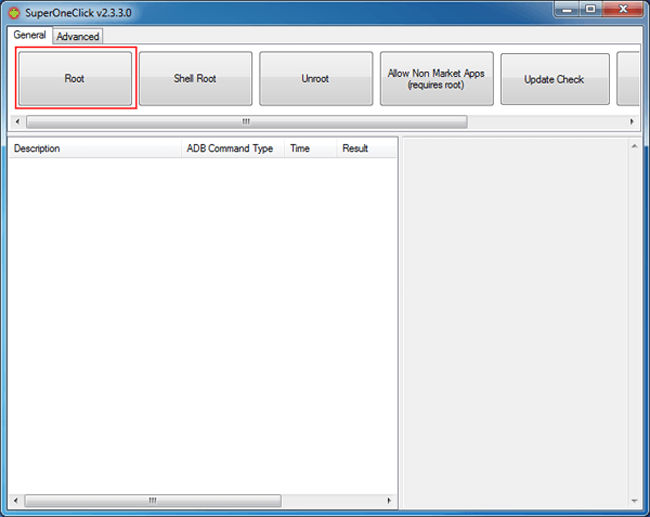
1. Install and run SuperOneClick application after downloading from its official website shortfuse.org.
2.. Click Root button in the SuperOneClick windows to start rooting your Android phone.
3. A few minutes later, when you see the prompt "Running a SU test...Success!", congratulations, you have successfully rooted your Android phone.
4.. Restart your Android phone after rooting it.
After rooted your Android phone successfully, you are free to install and use apps that require root access.