Recover your accidentally deleted or lost contacts and text messages from Android phones easily and efficiently by following the step by step guide on how to use Asunsoft Android Phone Geeker.
Step 1: Connect your Android phone to the computer via USB cable
Step 2: Enable USB debugging on your Android phone
Normally, go to Settings -> Developer options and check USB debugging. See how to enable USB debugging on different versions of Android phone.
Step 3: Install Android USB drive on your Android phone
Download Android USB drive on your computer. Then press Win + Break and select Device Manager to open Device Manager. Select your Android device and install the USB drive on your Android phone. See how to instll Android USB drive on Android phone in details.
Step 4: Root your Android Phone
Before you use Android Phone Geeker to recover the contacts or messages, you need to firstly root your Android phone.
Step 5: Download and install Aunsoft Android Phone Geeker.
Free download Aunsoft Android Phone Geeker and then install it on your computer.
 Download Asunsoft Android Phone Geeker
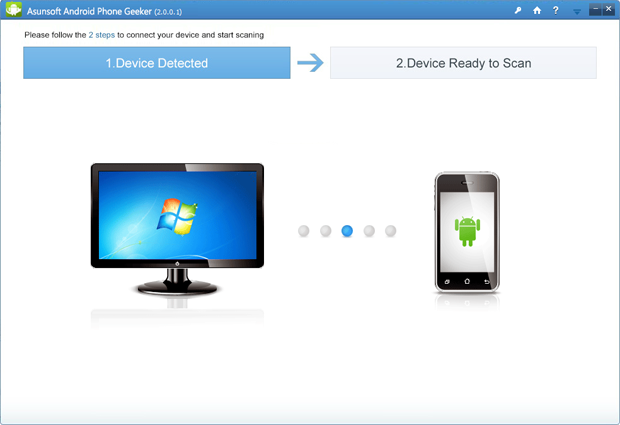
Step 6: Start detecting and scanning the Android phone
After installation of Asunsoft Android Phone Geeker, it may run and detect your Android phone automatically. After connection, it scans your Android phone automatically.
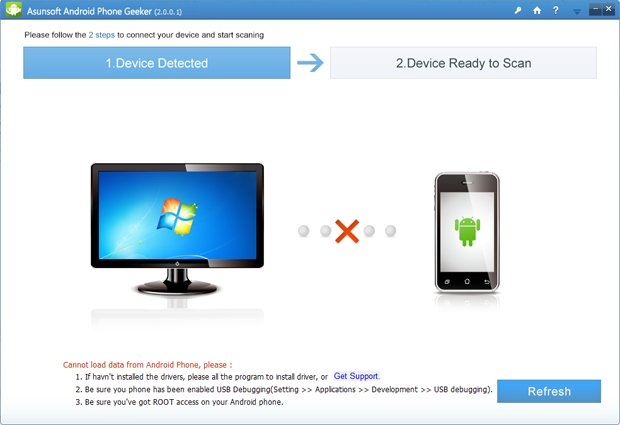
Tips: If the program fails to detect and connect to your Android phone and show the following screenshot, it may be that you haven’t enabled your USB debugging or haven’t root your Android phone to get root access to run the program smoothly.
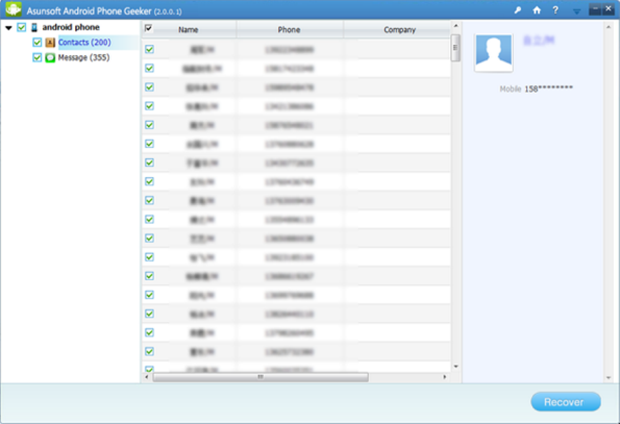
Step 7: Preview and Select the contacts or messages you want to recover
After scanning, it will list all the results. And you can preview all recoverable contacts and messages one by one. After preview, you tick those you want to recover in the corresponding checkbox. Or just select all to make a backup.
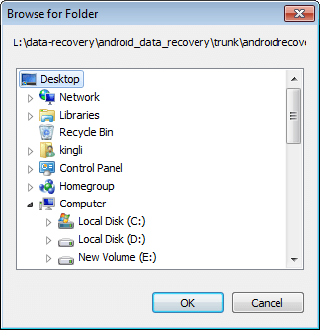
Step 8: Recover and save the recovered contacts or messages
After preview and careful selection, now you click Recover button to recover selected contacts or messages. Choose a folder as destination to save those to be recovered contacts or messages.