A system recovery disk is fairy useful in Windows repair, with which you can easily fix rather than reinstall your system when you get system failure. So it is very necessary for us to create such a disk for a rainy day. Although there are more than one ways to create a system recovery disk, you can create one with a usb flash drive which is the most commonly and coveniently used storage device. Now let’s look at how to create a Windows 8 usb recovery disk if you are also a Windows 8 user.
Plug a USB flash drive into your Windows 8 PC then follow the steps below.
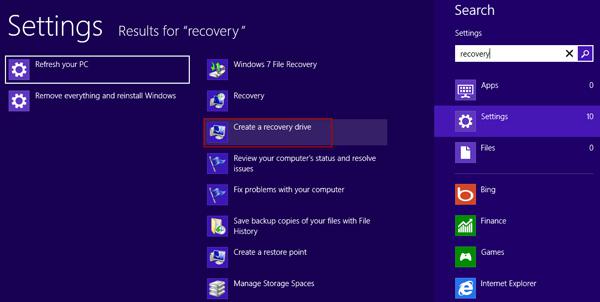
Step 1: Press Win + C keys together to bring out Windows 8 charms menu bar. Click or tap on "Search".

Step 2: Make the "Settings" selected and highlighted. Type in Search in the search box. The Create a recovery drive will be displayed immediately. Click or tap on it.
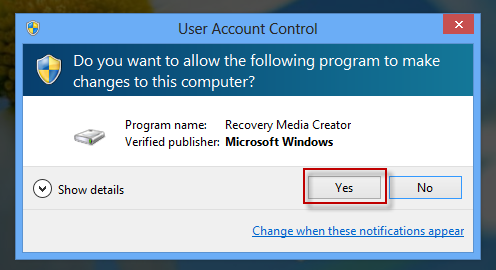
Step 3: You are prompted by the "User Account Control" dialog box. Click on "Yes" to continue.
Step 4: On the Recovery Drive wizard click on "Next".

Step 5: Windows is detecting available drives on your computer.
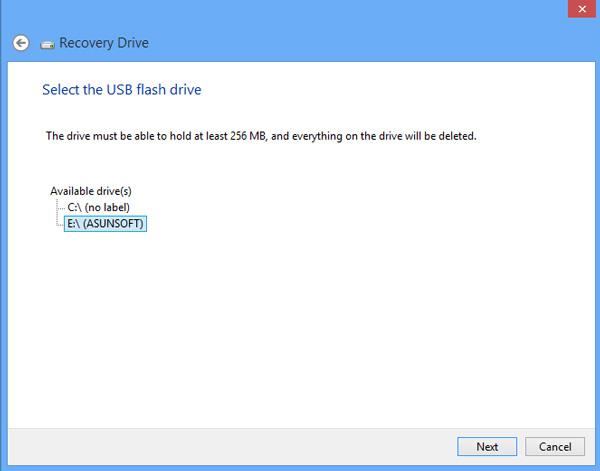
Select your USB flash drive and then click "Next" button.
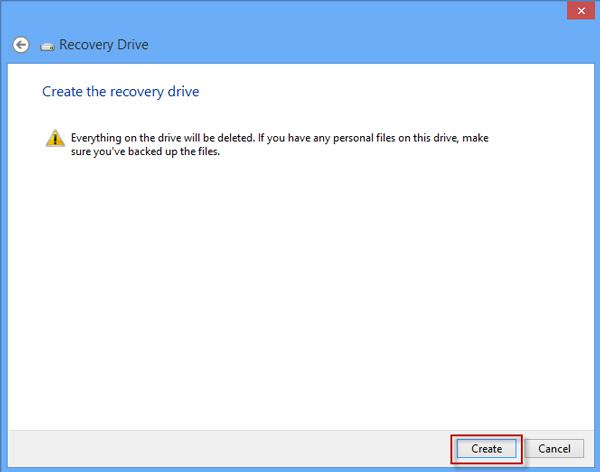
Step 6: You are alerted that everything on your usb flash drive will be deleted. So make sure you have backed up your important files stored in your usb device. Then click on Create button.
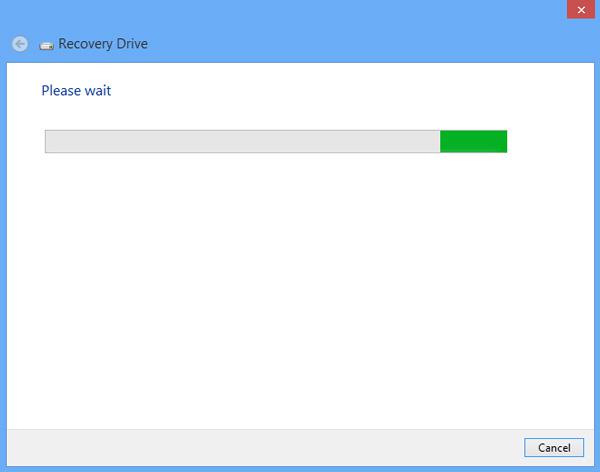
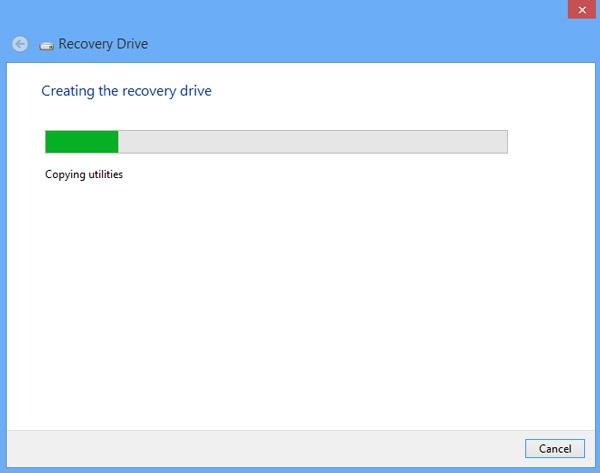
Step 7: Now creating recovery drive is now in progress. Your usb flash drive should be formatted and your system utilities should be copied.
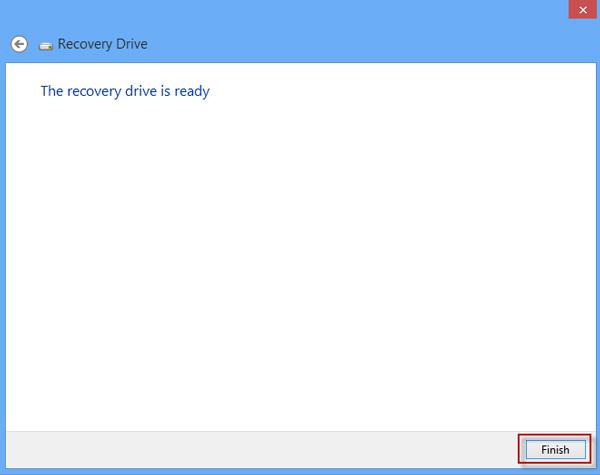
Step 8: After a while, the Windows 8 USB recovery disk will be created successfully. Click on "Finish".