Under some circumstances, you might want to format your USB flash drive. Want to use your USB flash drive to store something new and important but there is no enough space for it? Formatting your USB flash drive can give you a new one with more available space. Follow to learn how to format a USB flash drive on Windows 8 and Windows 7 instantly.
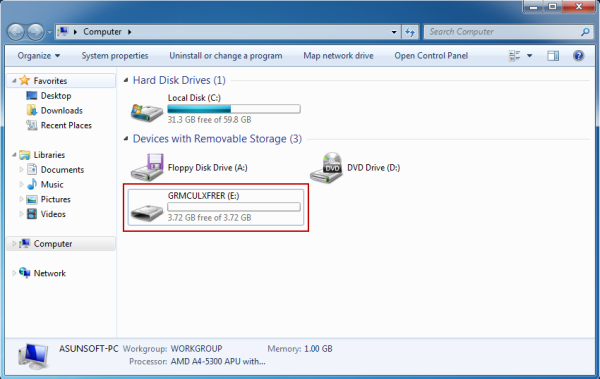
1. Plug the USB flash drive you are going to format into your computer and make sure your computer can recognize it successfully and inform you that your device is ready to use.
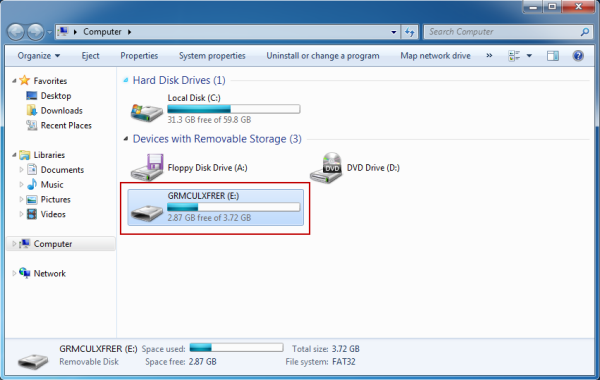
2. Double click on Computer icon to locate the connected and recognized USB flash drive which should be categorized into Devices with Removable Storage.
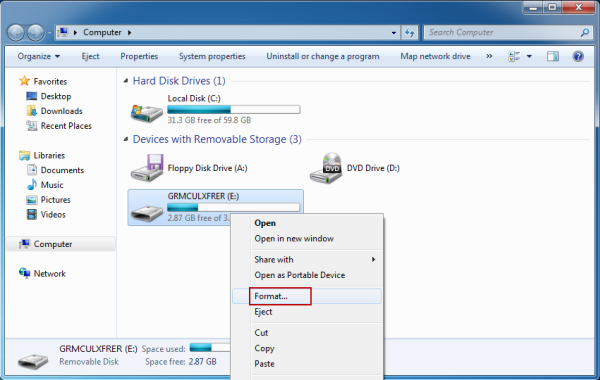
3. Right click on the USB flash drive you inserted just now and select the Format item from the popped-up menu.
4. Now here you come to the Format dialogue box with the title identifying the USB flash drive you are going to format in which you personalize the provided parameters or just leave them all as default recommended.
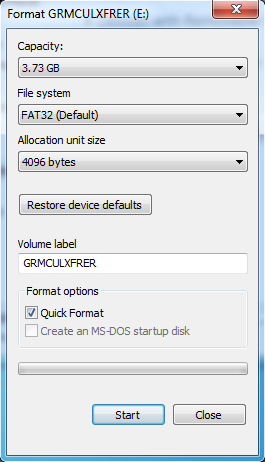
5. Click Start button to start formatting.
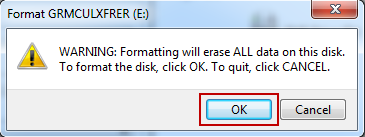
6. Click OK button to confirm your formatting when get a warning message that Formatting will erase ALL data on this disk.
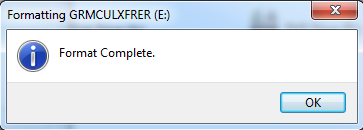
Wait for a short while, you will be prompted that Format Complete.
You back to your USB flash drive and will found you have successfully formatted your USB flash drive and all its data is emptied.